The Arduino Family
The Arduino Family
Arduino makes several different boards, each with different capabilities. In addition, part of being open source hardware means that others can modify and produce derivatives of Arduino boards that provide even more form factors and functionality. If you’re not sure which one is right for your project, check this guide for some helpful hints. Here are a few options that are well-suited to someone new to the world of Arduino:
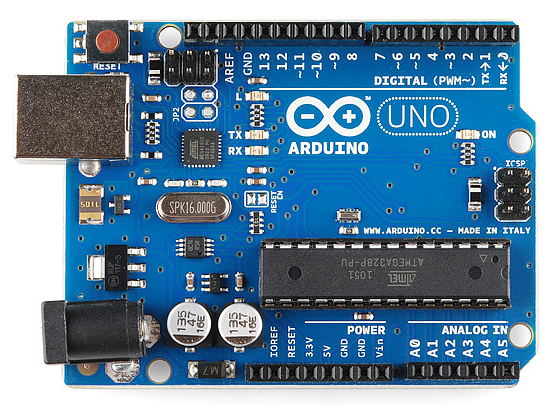
Arduino Uno (R3)
The Uno is a great choice for your first Arduino. It's got everything you need to get started, and nothing you don't. It has 14 digital input/output pins (of which 6 can be used as PWM outputs), 6 analog inputs, a USB connection, a power jack, a reset button and more. It contains everything needed to support the microcontroller; simply connect it to a computer with a USB cable or power it with a AC-to-DC adapter or battery to get started.
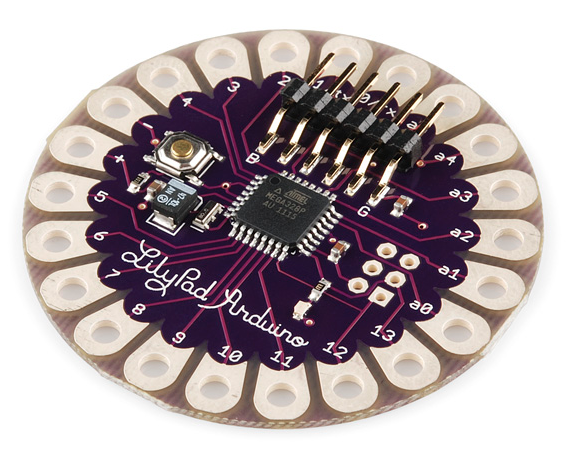
LilyPad Arduino
This is LilyPad Arduino main board! LilyPad is a wearable e-textile technology developed by Leah Buechley and cooperatively designed by Leah and SparkFun. Each LilyPad was creatively designed with large connecting pads and a flat back to allow them to be sewn into clothing with conductive thread. The LilyPad also has its own family of input, output, power, and sensor boards that are also built specifically for e-textiles. They're even washable!
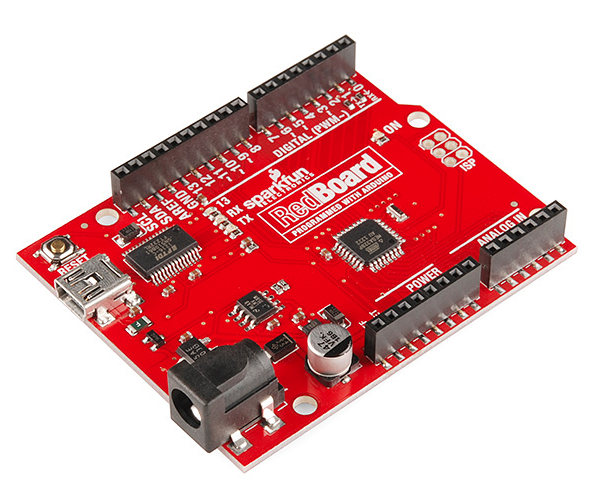
RedBoard
At SparkFun we use many Arduinos and we're always looking for the simplest, most stable one. Each board is a bit different and no one board has everything we want -- so we decided to make our own version that combines all our favorite features.
The RedBoard can be programmed over a USB Mini-B cable using the Arduino IDE. It'll work on Windows 8 without having to change your security settings (we used signed drivers, unlike the UNO). It's more stable due to the USB/FTDI chip we used, plus it's completely flat on the back, making it easier to embed in your projects. Just plug in the board, select "Arduino UNO" from the board menu and you're ready to upload code. You can power the RedBoard over USB or through the barrel jack. The on-board power regulator can handle anything from 7 to 15VDC.
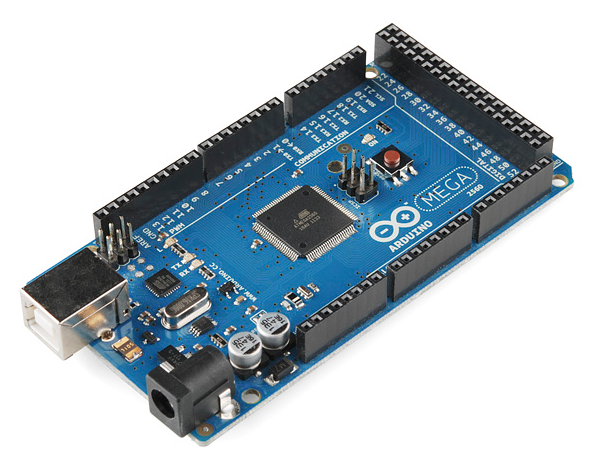
Arduino Mega (R3)
The Arduino Mega is like the UNO's big brother. It has lots (54!) of digital input/output pins (14 can be used as PWM outputs), 16 analog inputs, a USB connection, a power jack, and a reset button. It contains everything needed to support the microcontroller; simply connect it to a computer with a USB cable or power it with a AC-to-DC adapter or battery to get started. The large number of pins make this board very handy for projects that require a bunch of digital inputs or outputs (like lots of LEDs or buttons).
Arduino Leonardo
The Leonardo is Arduino's first development board to use one microcontroller with built-in USB. This means that it can be cheaper and simpler. Also, because the board is handling USB directly, code libraries are available which allow the board to emulate a computer keyboard, mouse, and more!

The Extended Family
While your Arduino board sure is pretty, it can't do a whole lot on its own -- you've got to hook it up to something. There are lots of tutorials here on learn as well as the links back in the 'What does it do' section, but rarely do we talk about the general kinds of things you can easily hook into. In this section we'll introduce basic sensors as well as Arduino shields, two of the most handy tools to use in bringing your projects to life.
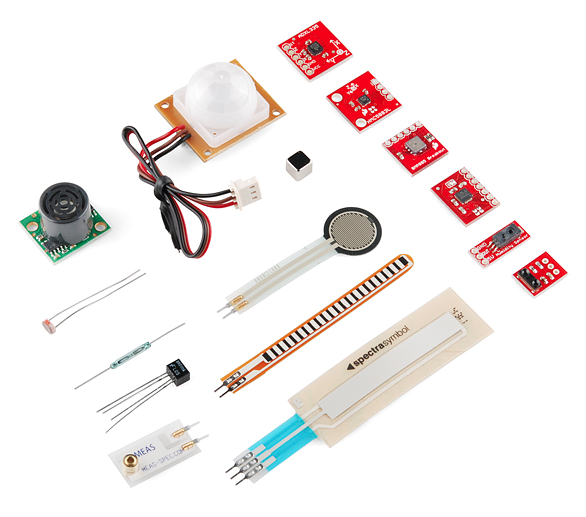
Sensors
With some simple code, the Arduino can control and interact with a wide variety of sensors - things that can measure light, temperature, degree of flex, pressure, proximity, acceleration, carbon monoxide, radioactivity, humidity, barometric pressure, you name it, you can sense it!
Shields
Additionally, there are these things called shields -- basically they are pre-built circuit boards that fit on top of your Arduino and provide additional capabilities -- controlling motors, connecting to the internet, providing cellular or other wireless communication, controlling an LCD screen, and much more.
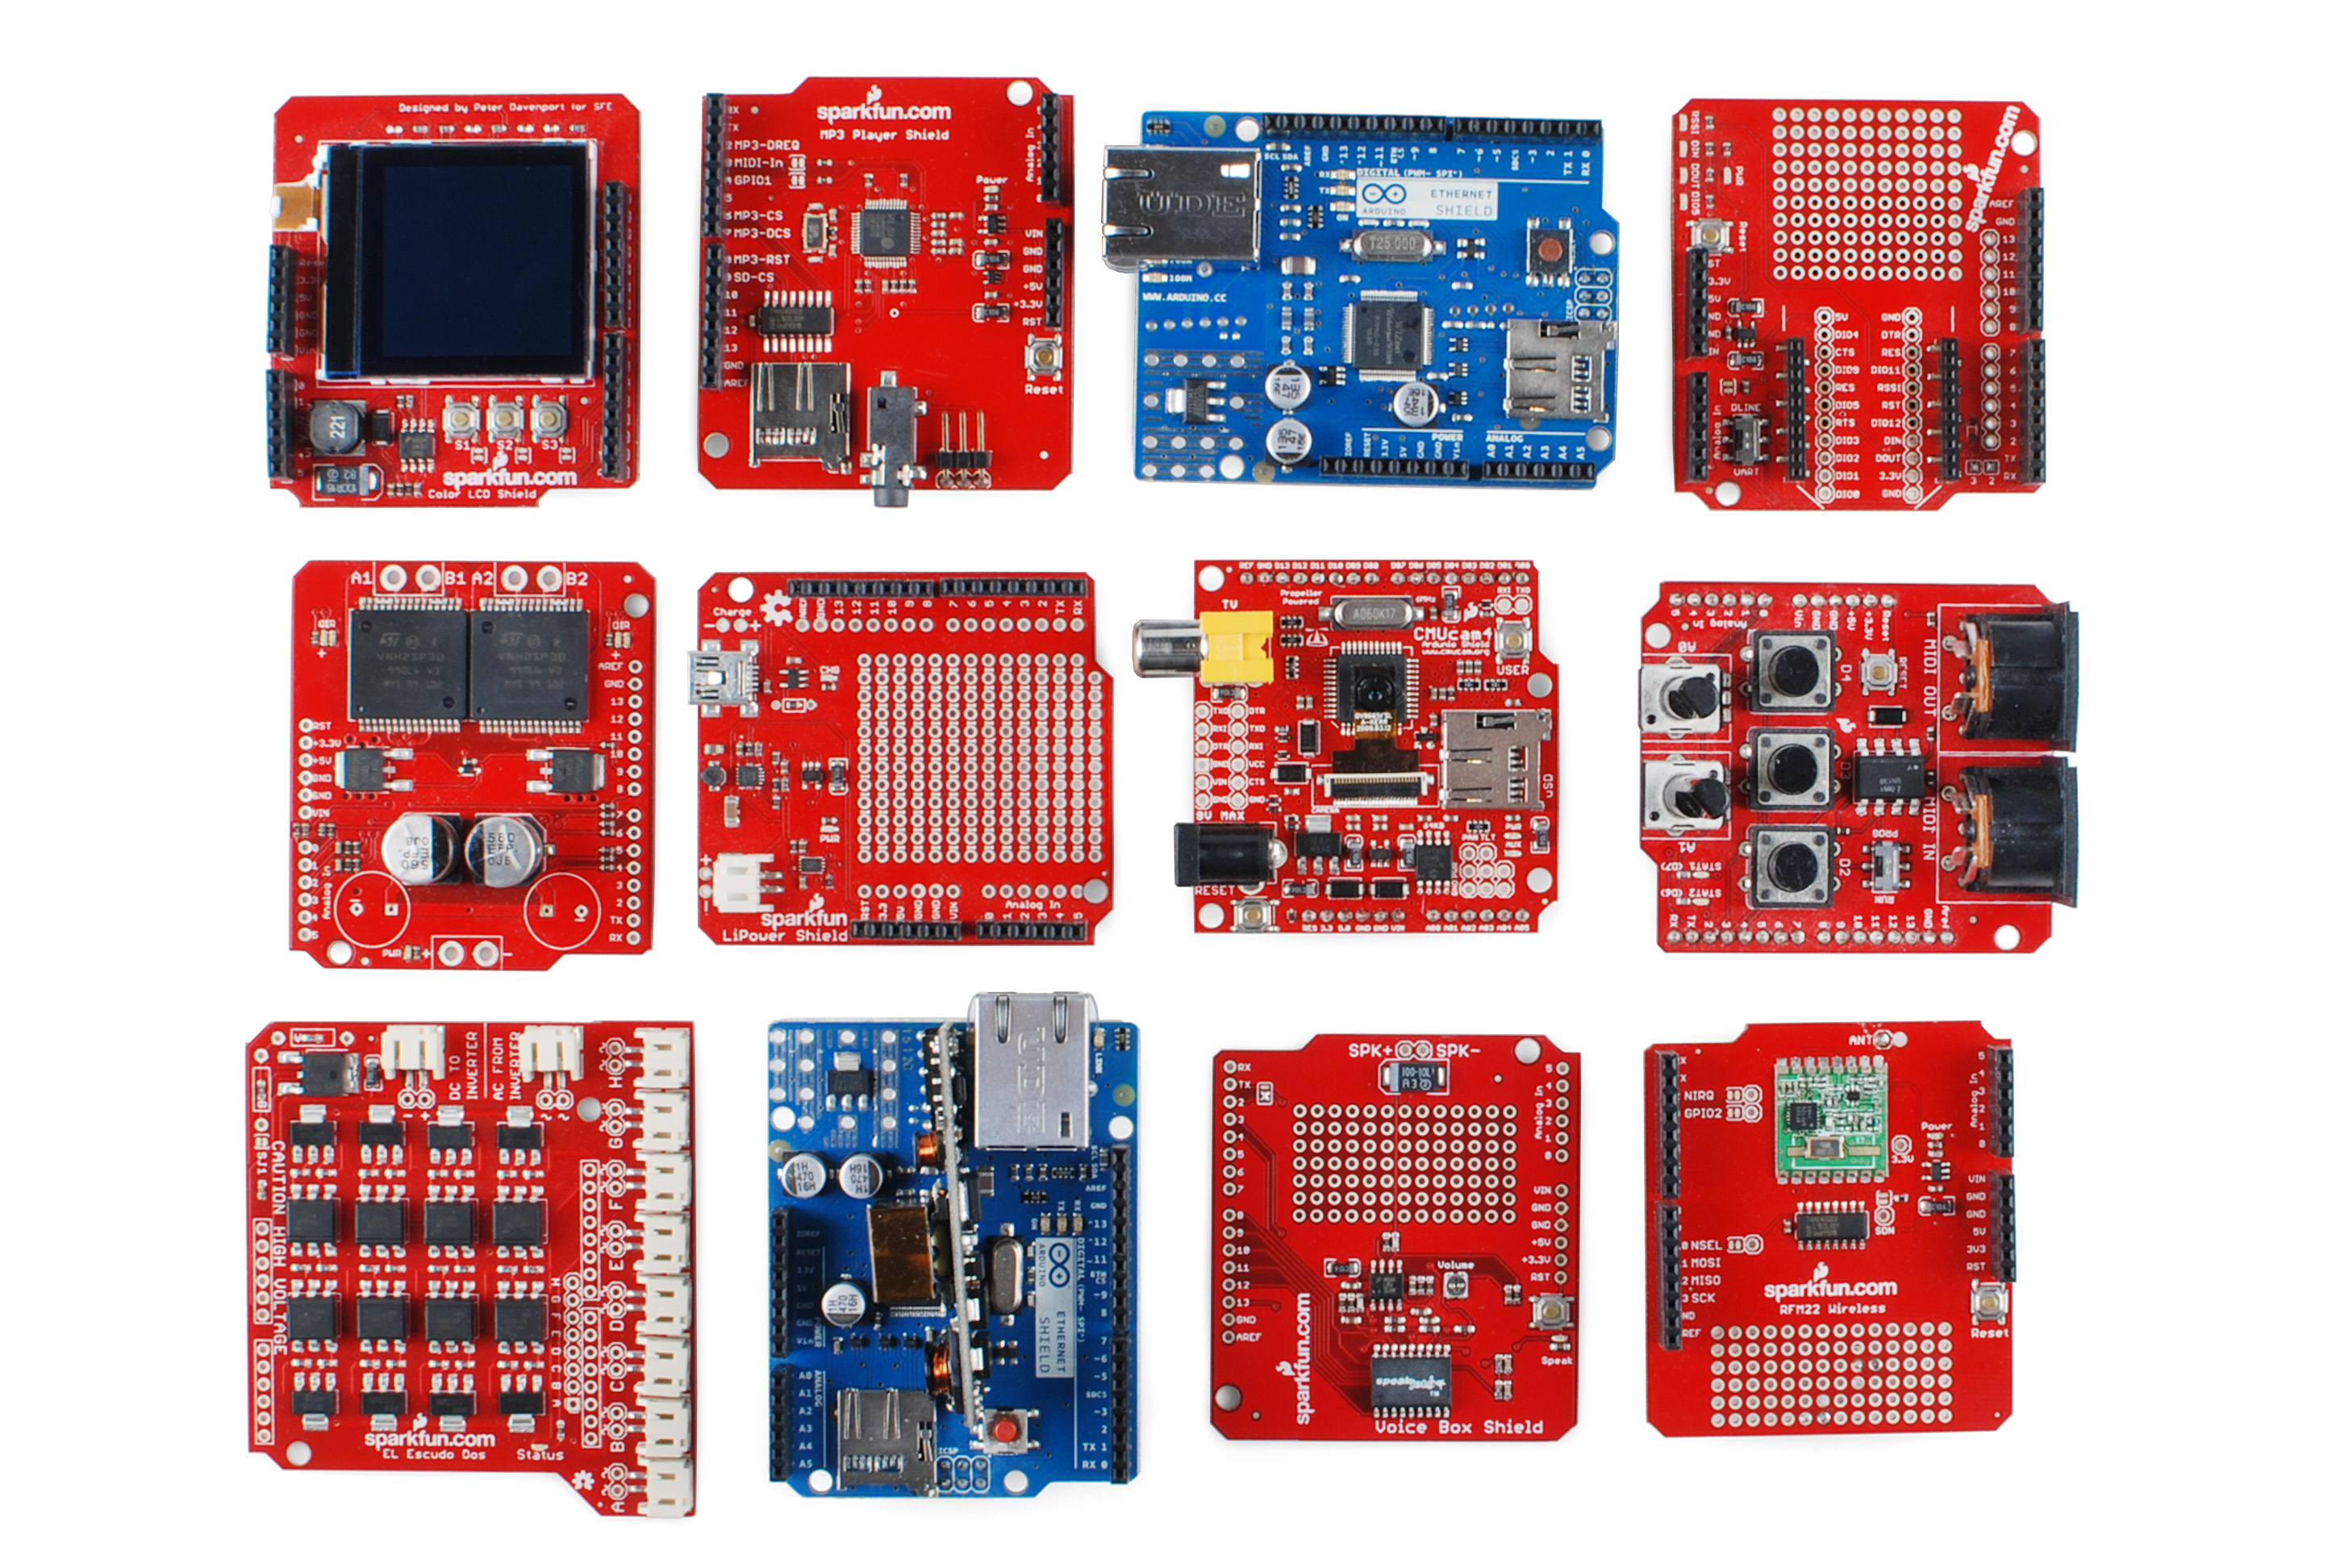
For more on shields, check out:
- ShieldList.org
- ShieldStravaganza!!! (A series of videos briefly explaining all of the shields we have at SparkFun) Part 1, Part 2, and Part 3
Resources and Going Further
Now that you know all about the Arduino family, which board you might want to use for your project, and that there are tons of sensors and shields to help take your projects to the next level. Here are some further readings that may help you along in learning more about the world of electronics.


Comments
Post a Comment